Well, this week has been VERY productive. It started off with the building of my own contact staff, and has ended with the construction of three more staves and a first lesson in how to use them. For the sake of construction I drifted through several DIY sites that gave me a variety of ideas on how to do this. Several suggested using electrical conduit, which I happened to have at my house (I’m an electrician by trade). However, when experimenting with the first steps of rotating it in my hand I clipped the back of my head and have decided against using conduit. Have you ever hit yourself in the head with what amounts to a steel pipe? If not I do not suggest it, but you go through the stages of feeling: A) like that really bloody hurt, B) really really dumb for having done it, and C) back to feeling like it really hurt, but this feeling lasts for a few days and becomes extra evident when your children poke the sore spot and ask “does it still hurt daddy?”
My system for building these was a hodgepodge of several different sets of instructions, but turned out quite well. My materials included:
- 6′ chunk of 3/4″ dowling rod cut down to about 5’4″ (about the height of my bottom lip)
- 6 blown out bike tubes for end weights
- 1 set of bike handlebar tape
- duct tape / tuck tape / electrical tape / hockey tape (yes, I used all four)
Basic Instructions:
- find the centre point of the staff (after cutting it to size).

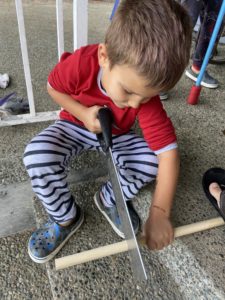
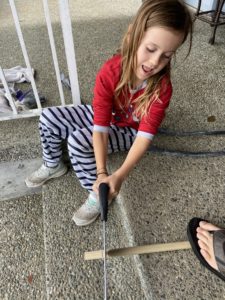
- Carefully clean and dissect the bike tubes. If you have a digital kitchen scale they work great for weighing them to ensure the tubes are the same weight. Cleaning and filleting the tubes was a bit time consuming though.
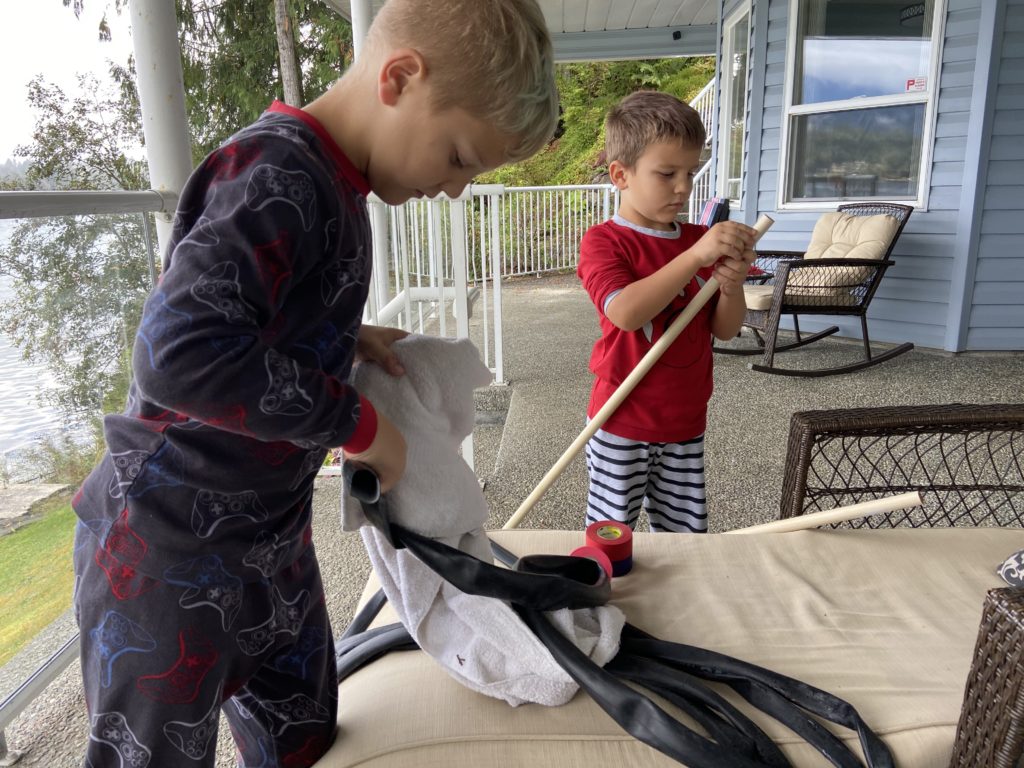
- Tape one end of the tube to the end of the staff and tightly wrap it around. When its fully wrapped tape it in place again. Tuck Tape is holding the tube to the staff, duct tape is holding the tube to itself as the outer layer.

- Once the tubes are on, I verified the balance by putting my finger on the centre mark and was able to rejoice that I had kept it balanced through the process so far!
- Next up was spiralling on the bike tape. Held in place with a strip of electrical tape at both ends. Starting in the middle and working my way out.

- With bike tape in place the hockey tape went on next to create a visual for the centre line and to cover over the exposed doweling rod.
- More hockey tape was used to cover over the bike tubes and make them look like fire. My kids chose what colours of tape I used, and EVERYONE got red ends because it makes it look like fire.
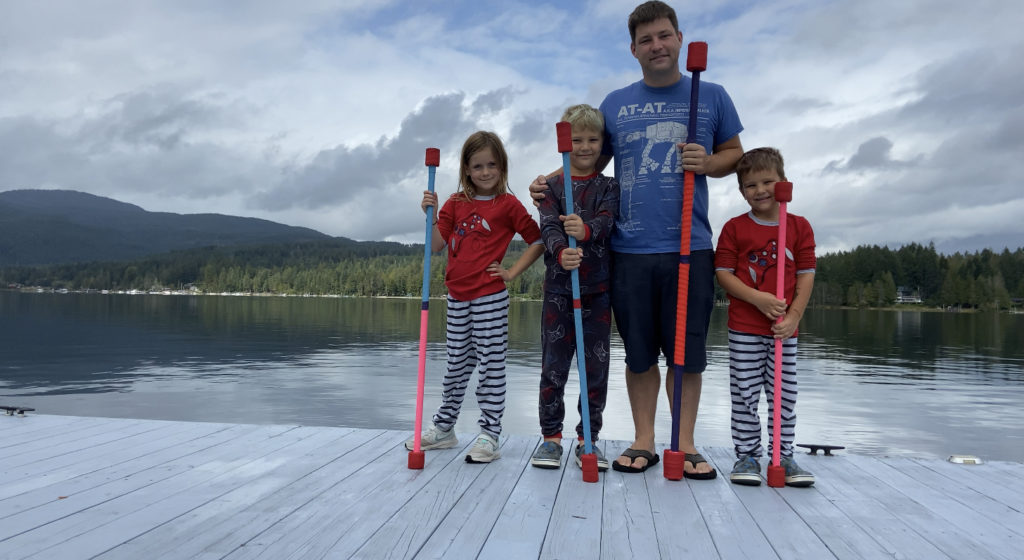
- Verifying the balance again and it turns out one side was slightly heavier than the other, so I carefully unpeeled and hid about another two and a half inches of hockey tape under the finished layer.
This process took several hours, but I had it figured out well enough that a few days later when my kids (and my landlord’s daughter) went to make their own we were able to pump out three perfectly balanced staves in about an hour and a half. Next step was our first lesson on how to use our staves, but for that you will have to tune in to the next blog posting! There was fire involved and it was amazing.
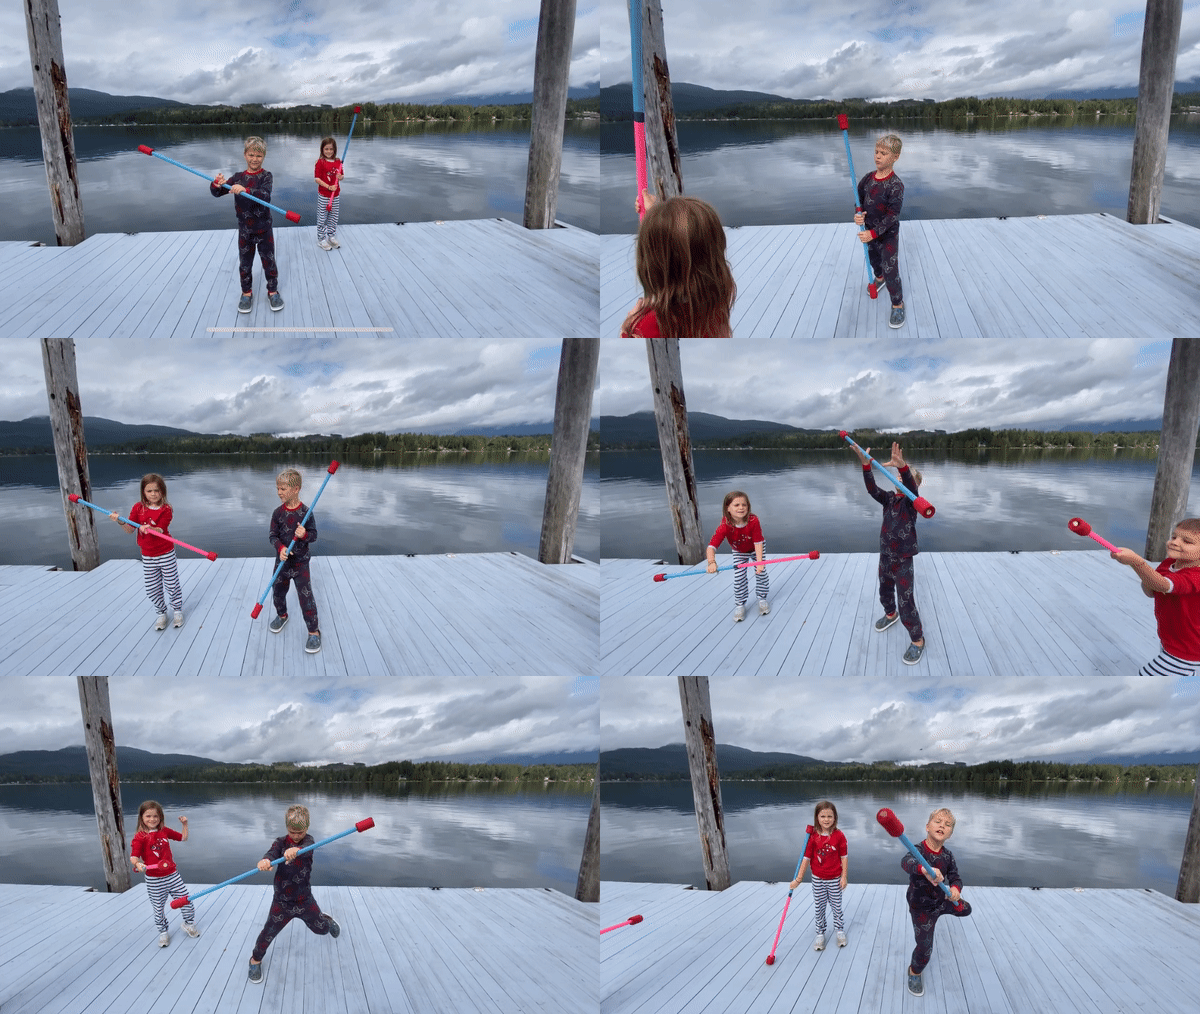
And since I have adorable children (and a bonus child whose parents approved their daughter appearing in this blog) I shall share their hijinks regularly through my posts, but frequently as an end point, because they are adorable and I can. Also, I have learned how to make a gif now! Go me! And no, I have no idea what they are dancing to. The music is all in their heads and their sweet choreographed moved are made up as they went along.
